
Appearance
Introduction
This guide explains, step by step, how to run a construction company in Odoo with the Construction apps: from the first estimate to the final payment certificate. No prior Odoo experience is needed.
HOW TO READ THIS GUIDE
Each chapter covers one menu of the Construction app. Chapters start with what it is for, then give numbered steps with a screenshot for each important screen. The red frames in the screenshots show where to click. Click any screenshot to enlarge it.
The big picture
A construction project in Odoo follows the life of a real job. Every chapter of this guide is one stage of that life:
Cost Database→Estimate→Project→Contract→Budget & Schedule→Site work→Payment Certificates→Handover
- Price the work. The Cost Database holds your resources (labour, materials, plant) and the work items built from them. An Estimate uses them to price the client's bill of quantities (BOQ).
- Win the job. When the estimate is won, it becomes a Construction Project and a client Contract with the same BOQ.
- Plan and control. The project gets a Schedule (work breakdown, baseline, S-curve) and a Budget by cost code.
- Build. On site, the team writes Daily Site Reports, orders Materials, runs Plant, manages Subcontractors, Documents, Quality and Safety.
- Get paid. Every month the quantity surveyor measures the work done and issues a Payment Certificate, which becomes an invoice. Changes to the scope go through Variations.
Logging in and opening the app
Open Odoo in your web browser and sign in with your login and password.
On the home screen, click the Construction icon. Field staff can also use the Site App icon, which is made for phones and tablets (see Mobile Site App).
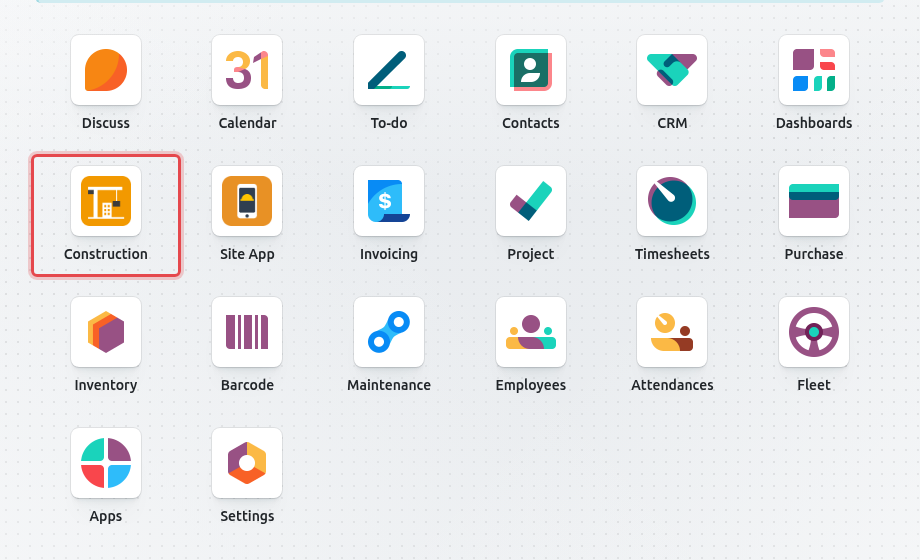
The Odoo home screen. The Construction app is framed in red. The Construction app opens. Its menus are in the top bar: , , , and so on. When the window is narrow, the last menus are grouped under the + button.
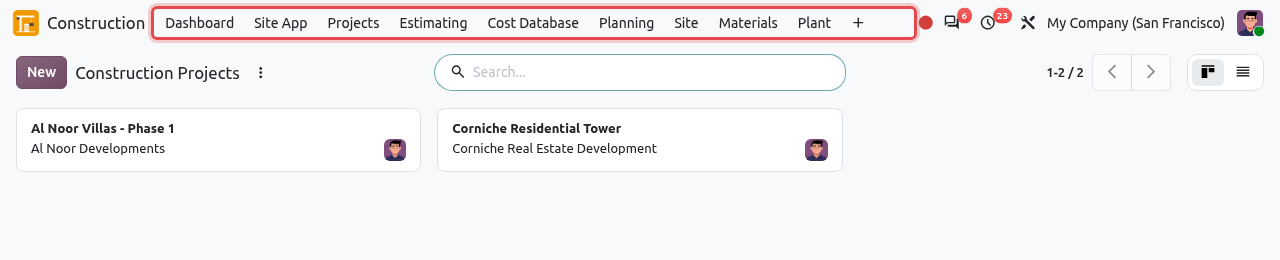
The menus of the Construction app.
The screens you will use
Every menu opens the same kind of screens. Once you know them, you know how to use every part of the app.
The list
A menu first shows the list of its records (for example all the estimates). From the list you can:
- click New to create a record;
- click a line to open that record;
- type in the search bar to find records, for example a project name or a reference.
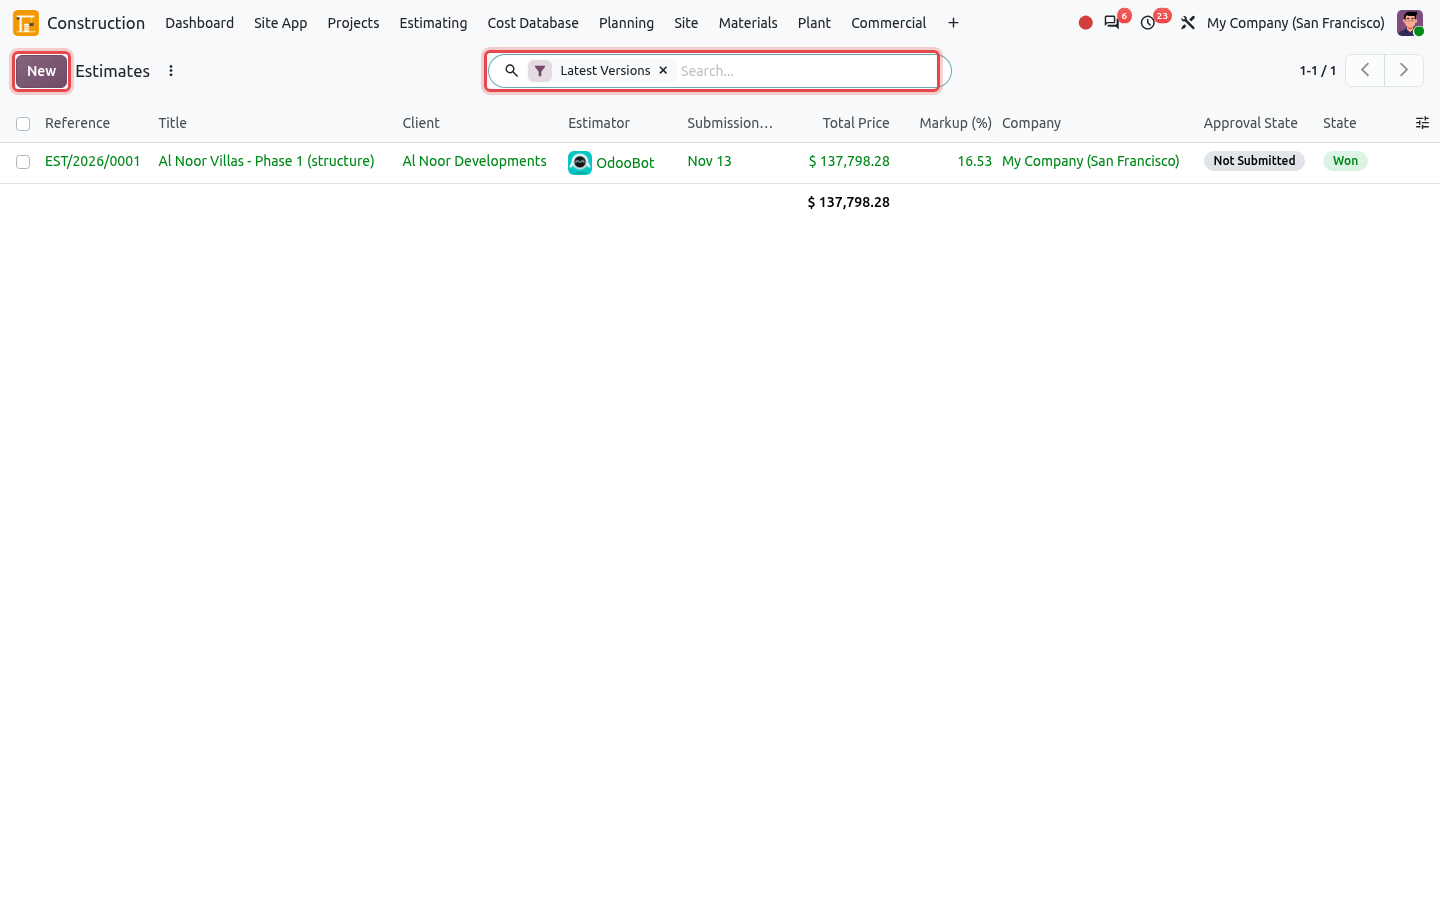
Search, filter and group
Click the small arrow at the right end of the search bar to open the Filters (for example Running contracts only), Group By (for example by project) and Favorites (save a search you use often).
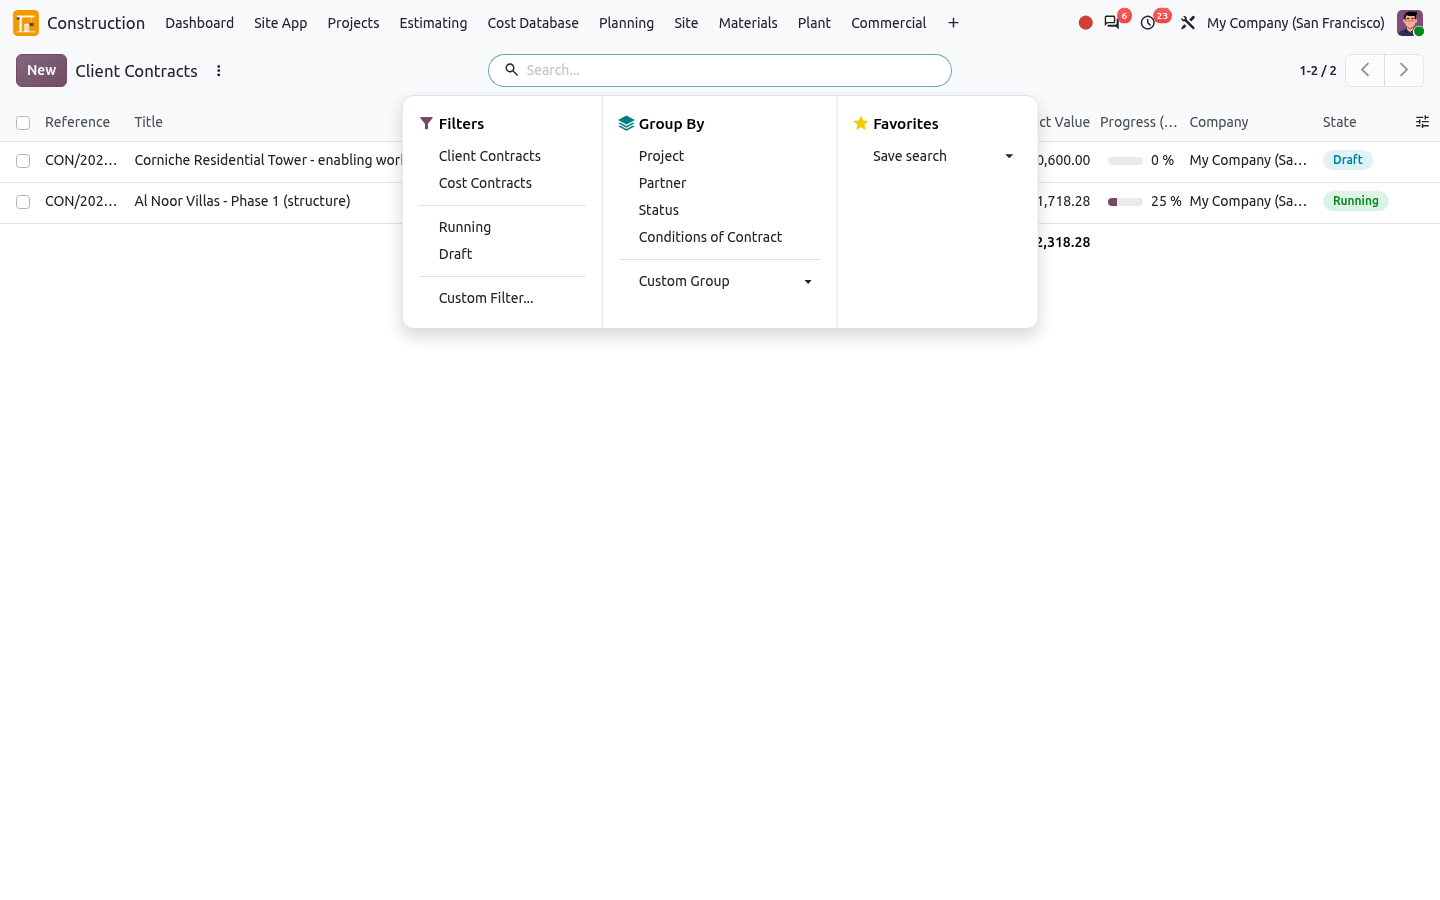
The form
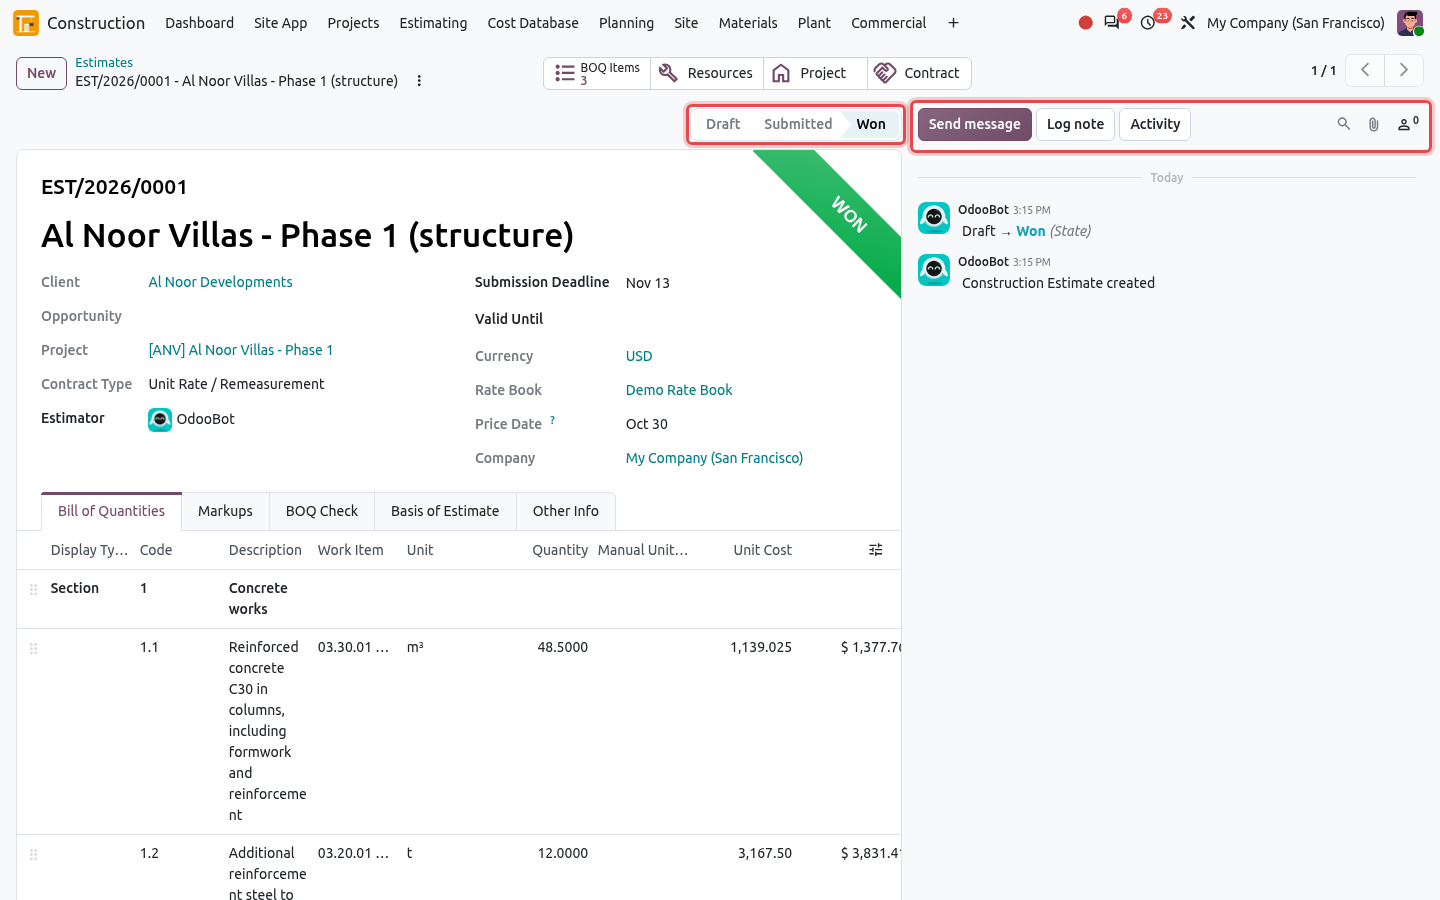
Opening a record shows its form. A form has four parts:
- Action buttons at the top left (for example Submit, Approve). Only the buttons allowed at the current stage are shown.
- Status bar at the top right. It shows the stage of the record, for example Draft → Submitted → Won.
- Smart buttons above the form: they count and open the related records (BOQ items, contract, project...).
- Tabs in the lower half (for example Bill of Quantities, Markups) and the chatter on the right, where Odoo logs every change and where you can send messages, log notes and attach files.
SAVING
Odoo saves automatically when you leave a record. To save immediately, click the cloud icon next to the record name; to undo your changes, click the × icon next to it.
Who does what: user roles
Each user gets one or more construction roles in , section Construction. The role decides which menus and buttons the user sees.
| Area | Roles (from basic to full rights) | Typical tasks |
|---|---|---|
| Construction | Team Member, Project Manager, Construction Director, Administrator | See the projects you belong to; create projects, manage teams and approvals |
| Estimation | Estimator, Estimation Manager | Cost database, estimates, tenders |
| Commercial | Quantity Surveyor, Commercial Manager | Contracts, payment certificates, variations, subcontracts, budgets |
| Planning | Planner, Planning Manager | Schedule, baselines, progress |
| Site Operations | Site Supervisor / Foreman, Site Engineer, Site Manager | Daily reports, crews, material requests |
| Materials | Storekeeper, Procurement Officer, Procurement Manager | Site stores, issues, purchases |
| Plant & Equipment | Plant Operator, Plant Manager | Plant logs, allocations, certificates |
| Quality | QA/QC Inspector, QA/QC Manager | Inspections, NCRs, snags, material tests |
| HSE | HSE Officer, HSE Manager | Incidents, observations, permits, inductions, PPE |
| Document Control | Document User, Document Controller | Drawings, RFIs, submittals, transmittals, correspondence |
TIP
Users only see the projects of which they are a team member. Adding someone to the project team is explained in Teams, Roles & Approvals.
The examples in this guide
The screenshots come from a demonstration database. The main example projects are:
- [ANV] Al Noor Villas - Phase 1: a villa project for the client Al Noor Developments, already under construction, with a running contract and certificates;
- [CRT] Corniche Residential Tower: a tower project at an early stage.
Your own data will be different, but the screens and the steps are the same.